This Step-by-Step guide builds on the Importing Overview.
Please see the Importing Overview if you have not already done so - as it contains requirements needed for this process.
For this walkthrough, we'll start with importing the General Ledger data. Click on the Import G/L icon.
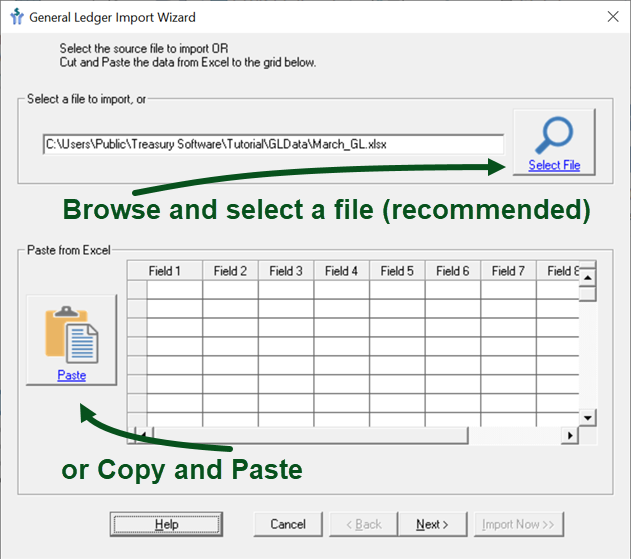
In the wizard, you can either:
•Browse to a saved file by clicking the folder icon
•Copy data from Excel or other program and paste it into the grid a the bottom of the screen.
Note: It is best practice to import a saved file.

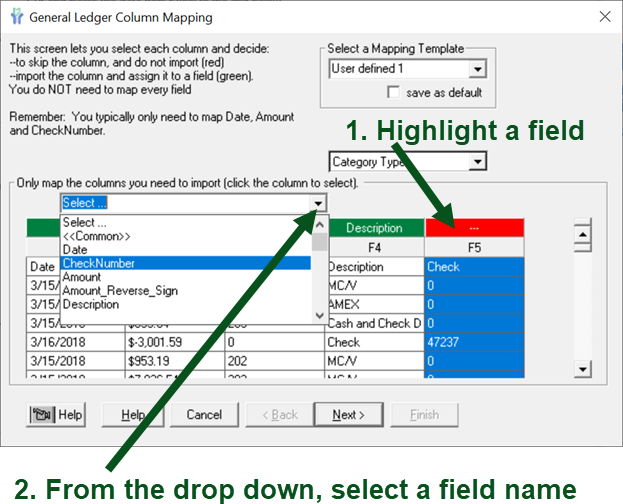
Map the fields that you want to import on this screen
Highlight the field you want to map for import and then select from the drop down the name of the field.
Initially all columns will be 'red' (not imported). It is okay to leave unused fields as 'red' (not imported).
What fields to I need to map?
Typically:
-Date
-an Amount field, such as 'Amount', or both 'Debit' and 'Credit fields, both 'Amount' and 'Sign', or 'Amount_Reverse_Sign'.
-Description
-Check Number
Additional available fields include:
-those used in the automated matching process including: Site, and Text1 (a.k.a. Matching Field),
-additional Text and memo fields for research/reporting.
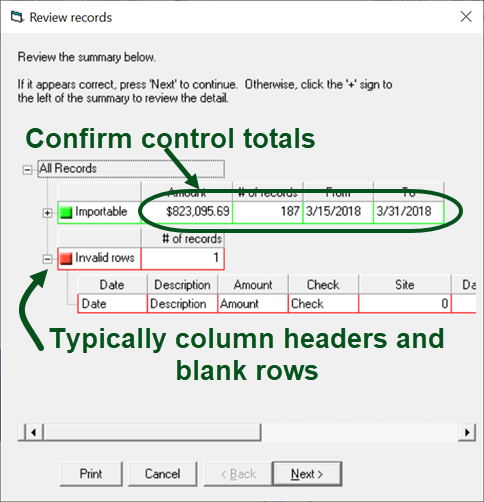
Review Records screen - confirm control totals
Note: The Invalid Rows section will list all rows that will not be imported into Bank Rec.
The software will automatically mark header rows, footer rows, summation lines, and blank lines as invalid. For each row that is invalid, a check mark will be placed in the appropriate column indicating why the row was invalid.
Once you have verified the importable information is accurate, click Next. If you wish to Cancel the import process and try again, simply hit Cancel.
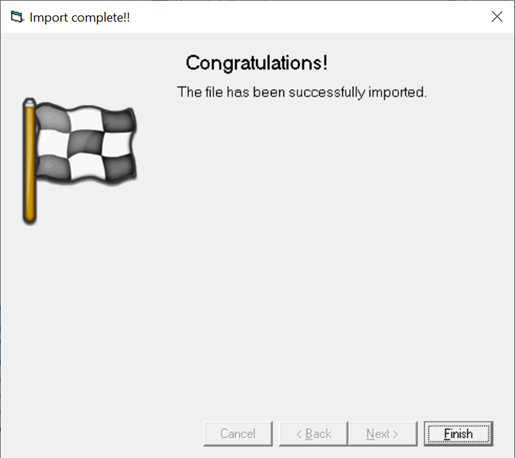
Click Finish to complete the General Ledger Import Wizard.
Congratulations.
You can now import the Bank data using the same logic already noted.
Reminder: If this is your first period - don't forget to import your Outstanding Checklist. See the Import Overview for more details.


