After transactions have been imported, from the Home Page, click on the 'Go To Create ACH File Page' icon. (This icon can be found in the middle of your screen or in your ribbon bar.)

You'll click the bank icon, and then click it a second time to create the file.
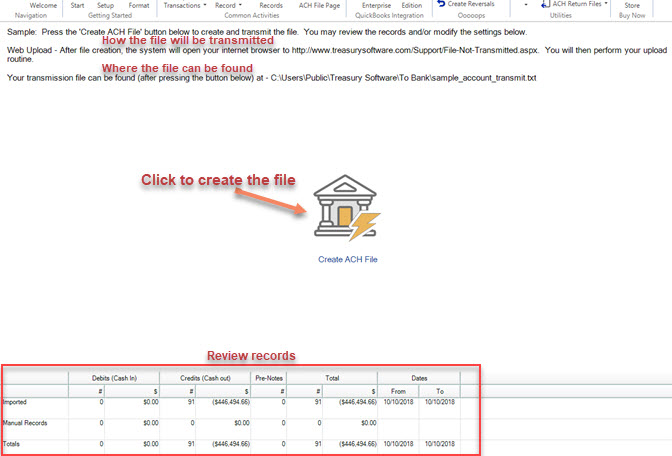
The top pane will list the file transmission method.
NOTE: Clicking the bank icon does not transmit the file to the bank. It is necessary to login to your bank's portal and upload the transmission file for it to be processed.
You will see listed the archive location, or the absolute path on your local system where the created ACH file will be saved.
The bottom pane contains a table showing a summary of all imported data, and is stored for later use as part of the audit trail in the 'Transmission Logs' report.
Once the bank icon is clicked, a dialog box will appear asking if you wish to 'View the File?'. Click 'Yes' to view the file. (You can always view the file later.) If you wish, you can 'Save as' and rename the file or save it to a different folder location.
The file creation process is now complete. You're ready to upload the file to the bank!
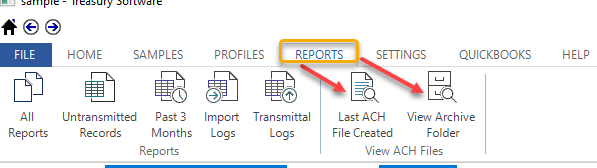
Can't remember where your file is located? Click on Reports >Last ACH File Created (or you can View Archive Folder, which keeps date-stamped file copies as well as database copies).