You can download a full working version immediately - no credit card needed.

If presented with the popup (below), click on the 'Workgroup / Enterprise' link on the bottom.

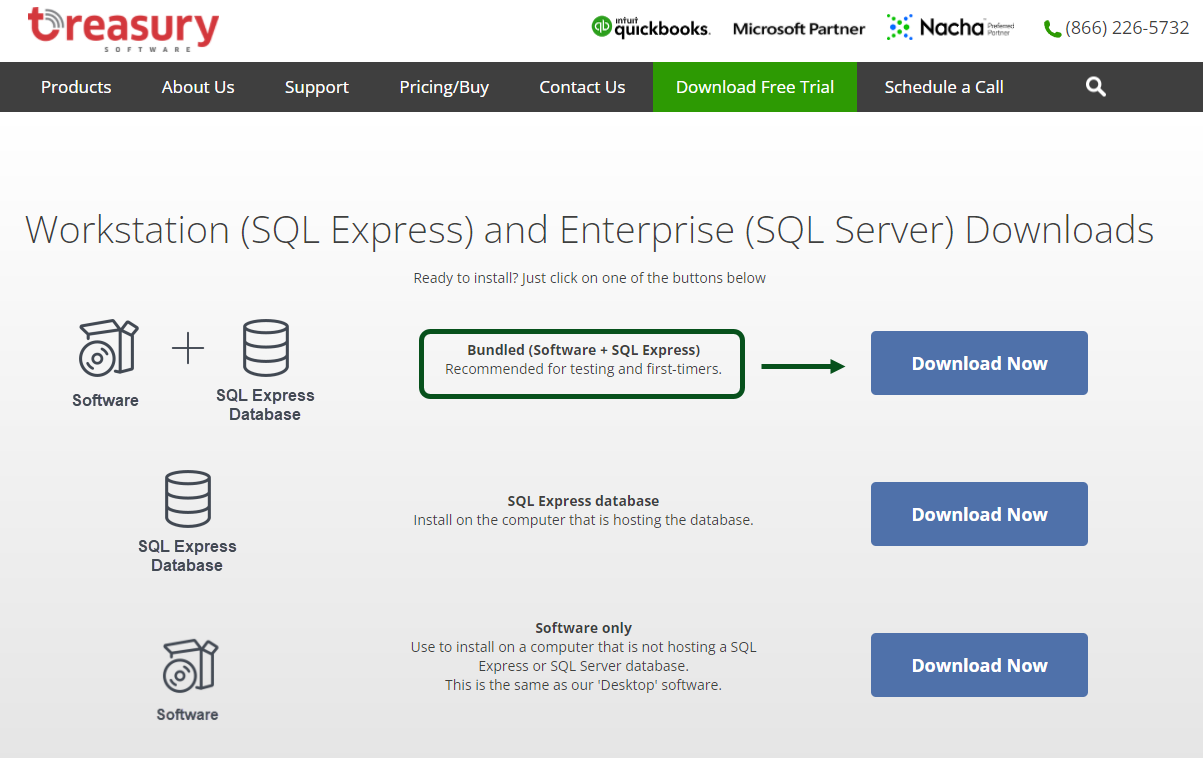
We highly recommend the Bundled (Software + SQL Express) for testing.
Not sure which to download?
If you're testing for the first time and will be the only/primary user
We recommend the Bundled download. This will install both the software and SQL Express database on your computer. There is no additional configuration or setup.
If you already have your own full SQL Server - or already installed our SQL Express on another computer
You can download and install just the Software Only.
Background:
Bank Rec consists of two components: software and a database.
You can install the software and database on the same computer - or different computers.
If you have multiple users, typically they will each have a copy of the software on their computers - and will point to one central database.
Next Steps
If you installed our:
| Bundled software | You're all done.. Proceed to creating your first account. |
| Software and our SQL Express database on different computers | See SQL Express configuration. |
| Software and will be connecting to your SQL Server | See SQL Server configuration. |