Positive Pay Setup with QuickBooks
Confirm that Bank Positive Pay and QuickBooks are installed on the same computer.
Note: If you have a multi-user edition of QuickBooks, you may need our multi-user platform if you'll be creating positive pay files from more than one computer.
The instructions below assume a simple desktop installation.
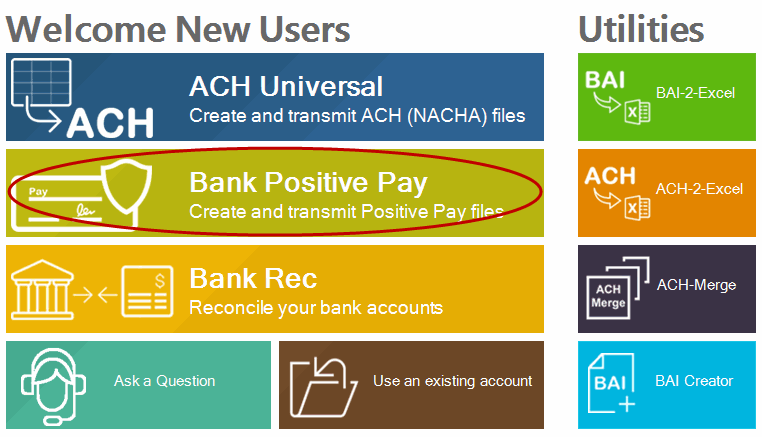
Start Treasury Software and at the 'Welcome New User' screen, enter into Bank Positive Pay.
Create a new account in Bank Positive Pay to work in.
From the main menu select File > New Account - and you'll open the Account Wizard.
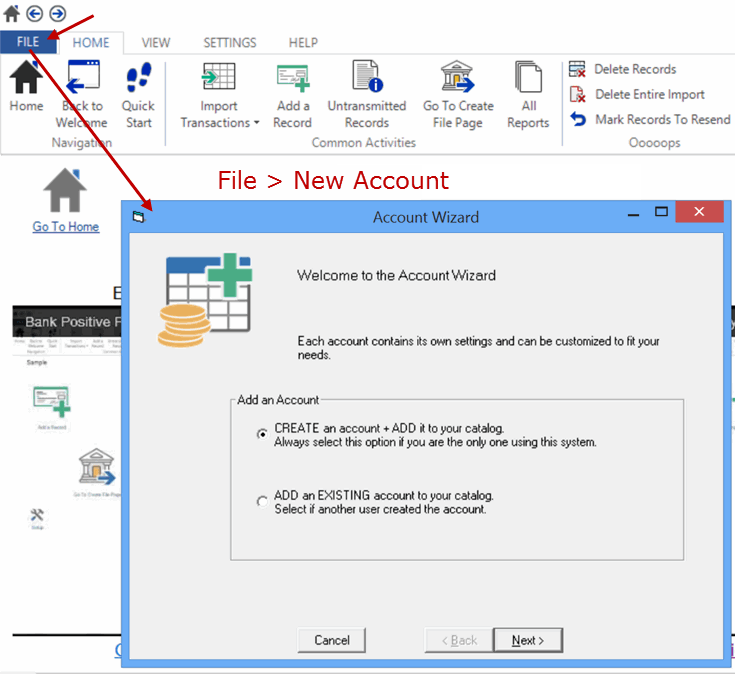
The top option “Create an Account...” should already be selected. Click Next.
Enter a name for the account. This name is strictly internal and should help you identify the purpose of the account. For example,if you are using it for payroll, you might name the account Payroll. Once the name is entered, click Next.
Congratulations! You have finished creating the account. Click Finish to begin using this account.
If prompted to edit/modify your transmission information, click No.
Congratulations. You are done with your basic setup.
Connecting to a Company
First time connection
Start the connection process by selecting the Home tab then QuickBooks integration.

If nothing appears to be happening, QuickBooks is waiting for you to grant permissions.
Click on your Windows toolbar to access QuickBooks.

The first time Bank Positive Pay attempts to connect to your QuickBooks company, you will be prompted by QuickBooks to grant access.
Note: You can leave the bottom check box unchecked.
Please grant access to continue.
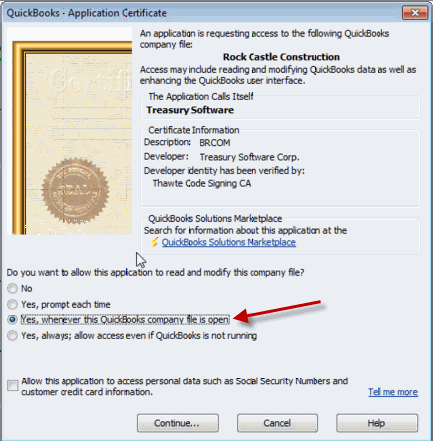
QuickBooks will prompt your confirmation.
Click 'Done'.
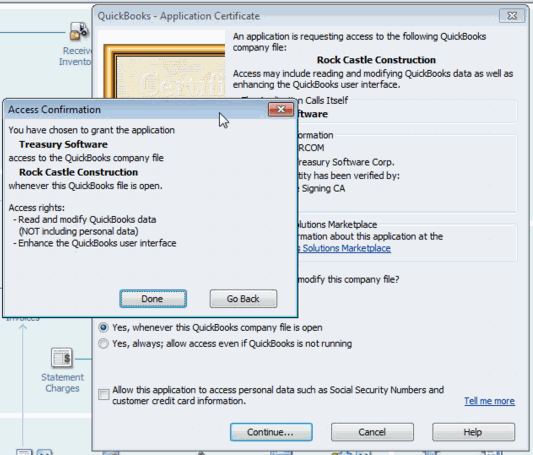
Note: If you do not grant access, you will be unable to continue.
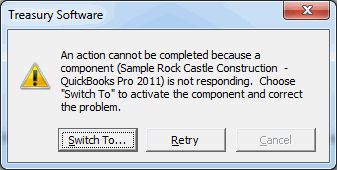
Please switchback and grant access within QuickBooks to continue.
Congratulations, you have connected
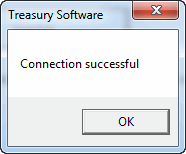
General note:
--Remember, QuickBooks must be running on the same computer as Bank Positive Pay.
Subsequent connections - automatic
When in Bank Positive Pay, and selecting QuickBooks Integration - the system will automatically present to you any records that need to be processed.
You will not need to perform any of the steps above.
Note: If you upgrade Treasury Software, change versions in QuickBooks, or install the software on a new computer - you may be prompted to grant permissions again.
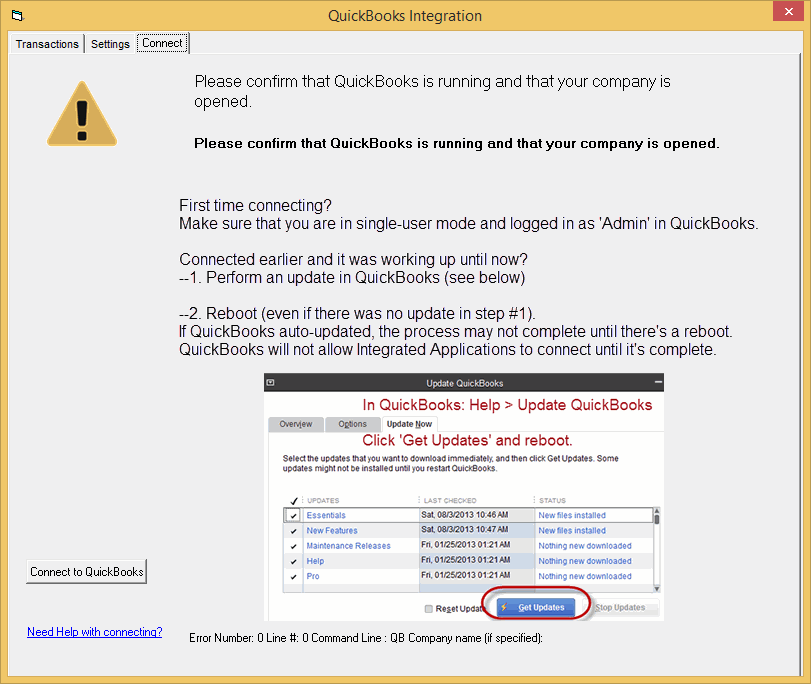
Subsequent connections - If QuickBooks is not open in a company
Simply open your QuickBooks company and then click 'Connect'.
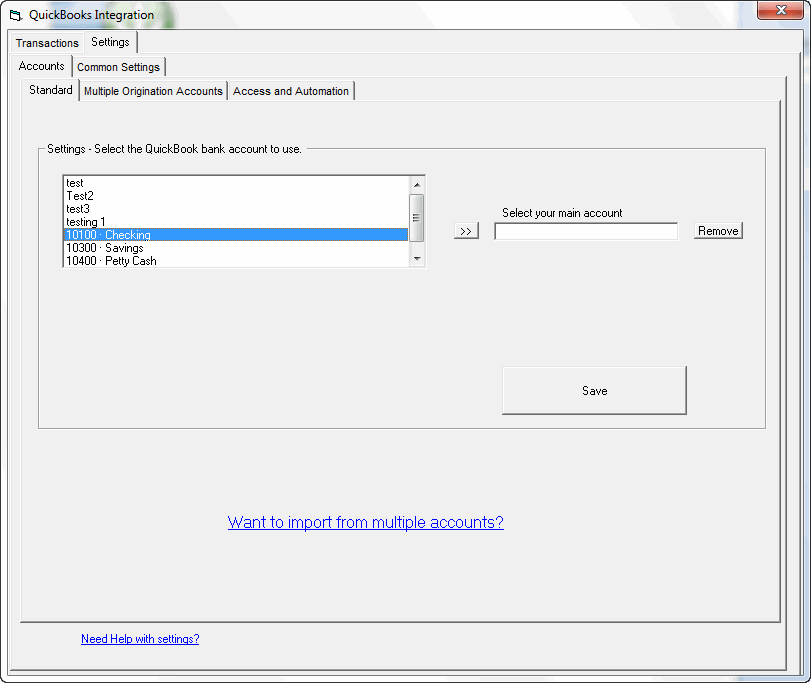
Once you have connected to a QuickBooks company for the first time, you will be prompted to select the QuickBooks account that has your electronic data in it.
Advanced Setup
To reach Advanced Setup, from the Home tab select QuickBooks Integration > Settings > Common Settings.
If you are using a version prior to 2013 click on QuickBooks > QuickBooks Integration > Common Settings.
Typically, these settings do not need to be changed.
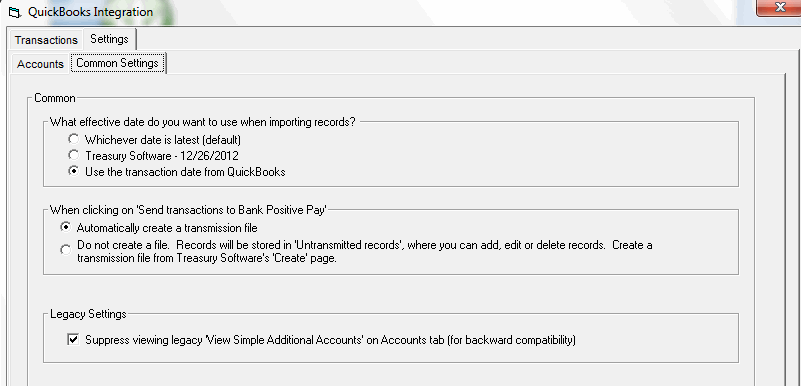
Effective Date
As you operate your business, each transaction date is recorded per your wishes in QuickBooks.
Sometimes you pre-date or post-date transactions, which is fine.
However, when electronic transactions are sent to your bank, they are typically expecting the date you send them to be in the future - as this is the 'effective date' of the transaction.
To minimize any chance of post-dated transactions, Bank Positive Pay's default setting is the latter of the QuickBooks date and the next business date (as displayed in the second option).
You can over-ride this setting as needed here.
Send transactions to Bank Positive Pay
The default setting, and for ease of use - is to create a file once transactions are sent from QuickBooks to Bank Positive Pay.
However, you may prefer to over-ride this setting if:
--you are editing records in Bank Positive Pay after sending them from QuickBooks
--you are manually creating records in Bank Positive Pay
--there are internal control measures which require another individual to create the file
--bank procedures require batch totals - which you would get from Bank Positive Pay
or any other advanced situation.
Default From/To Date
The transactions page displays by default from 15 days in the past to 15 days in the future.
This range should cover any post-dated entries (15 days in the past), as well as any future entries - such as payroll.
If you are constantly changing the default dates on the report, you can save yourself some time and change the default range here.


