Importing Data
Follow the instructions at each link below for importing data.
ACH File Setup Options (one-time settings)
If you haven't done so already, enter your settings (i.e., Bank Name, Company Name, etc.) in the ACH File Setup.
See https://help.treasurysoftware.com/hc/en-us/articles/360011046974-ACH-File-Setup
Creating an ACH File
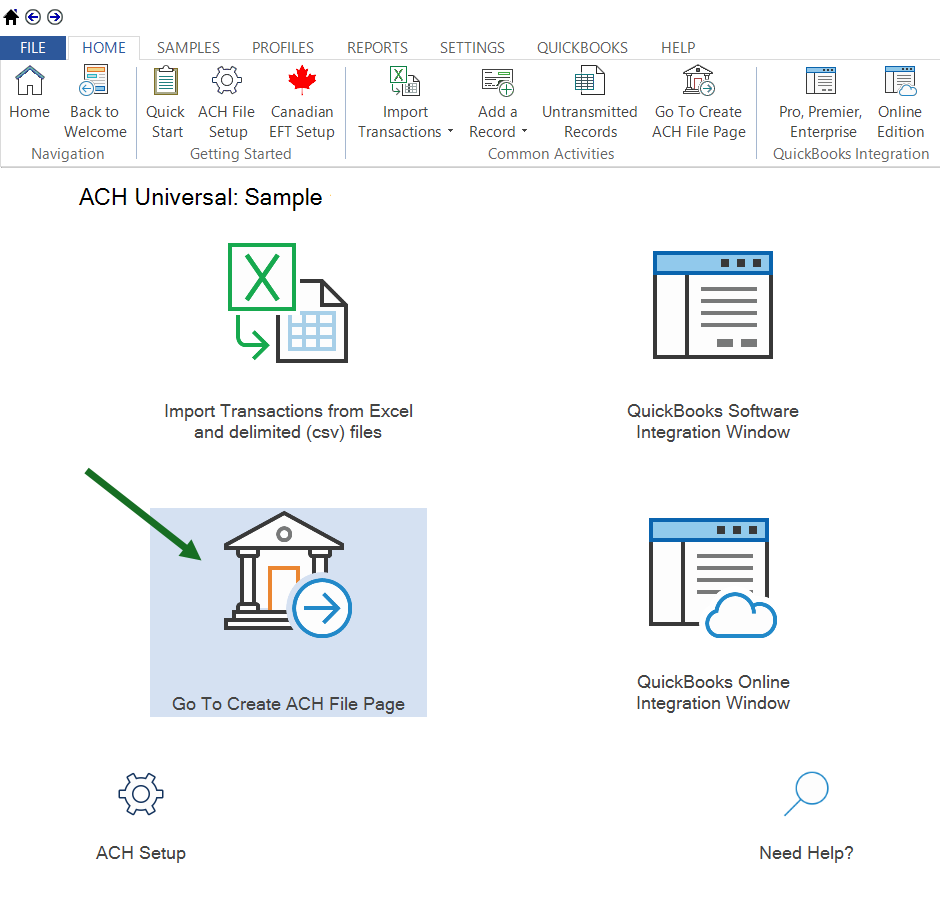
After importing your data and filling out the 'ACH Setup', you are now ready for the final step: creating the ACH file and transmitting it to the bank.
Click the 'Go To Create ACH File Page' button in the center of the homepage to bring you to the Create Page.
Click 'Create ACH File' to create the file.
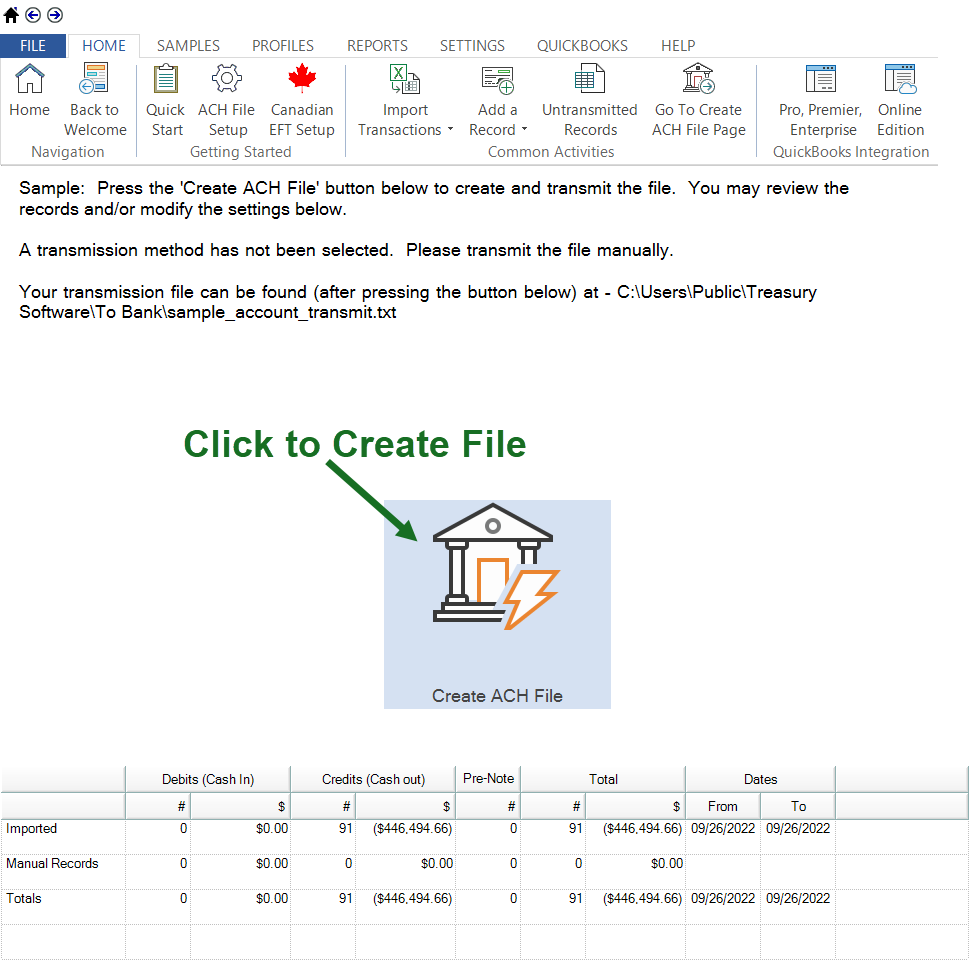
Once you click on Create ACH File, ACH Universal will ask if you want to view the file.

Most often you will choose 'Yes' to view the file. This will give you an opportunity to 'save as' and re-name the ACH file if you wish.
Dynamic-Named Files
If an automatic, duplicate ACH file should be created and saved in a different location-- such as a shared network folder--you can set up 'Dynamic Naming'. This allows you to name the file copy a specific way, and the file is typically date-stamped.
To set this up, go to Settings->Transmission Options->Dynamic Naming tab...
When finished, simply 'Close' and the settings are saved.
Transmitting the File
In most cases, you will upload your text file to your bank through their website. Your bank will provide you with instructions for doing this.
The default location for the file is the following: C:\Users\Public\Treasury Software\To Bank
(If using the QuickBooks Online integration, the default location is
C:\Users\[User's folder]\Documents\Treasury Software\To Bank )
At this point, transmit the file to your bank using their procedures.
Congratulations! You have completed your first ACH file transmission.