--First, be sure to create a New Account for each bank account, instead of working in the Sample account (File->New Account)
--Then, click on the Setup icon and enter the Bank Express Code that was received from Treasury Software Support. This Code creates the format required by your bank.
Import Transactions
[Note: QuickBooks users will use an integration wizard]
The data files typically would be created from within your accounting software by exporting a check register that is saved to an Excel or CSV (comma-delimited) file.
- The most popular choices for these files are:
- Excel spreadsheets
- Comma-separate (csv) files
- Tab-delimited file

Basic
At a minimum, you will need to create a file with the following fields:
- Payee name / description
- Amount
- Check number
- Date
- Void Indicator
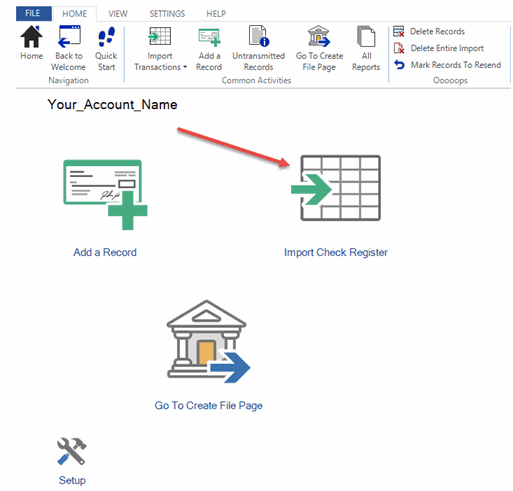
Select your file to Import and click Open. Common file types are Excel (.xlsx) and .csv files.
Click Next.
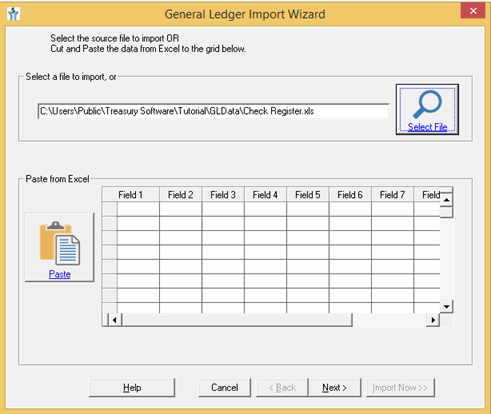
Mapping
The Column Mapping screen allows you to select the appropriate column header to identify the data in each column. There will be a video to show you how to do this the first time.
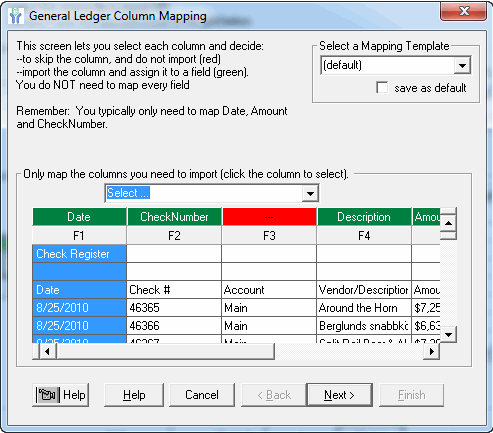
Then select NEXT
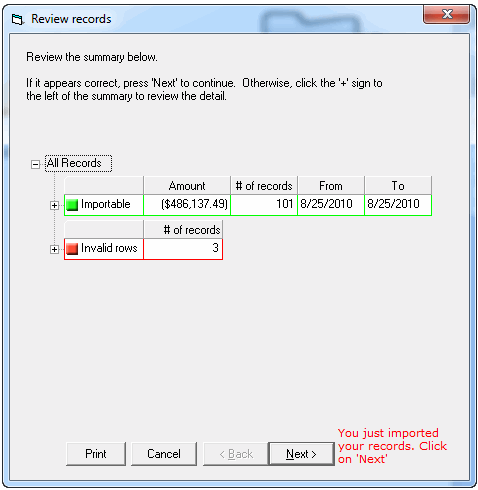
Then NEXT again after you review your records in this screen.
The Invalid Rows section will list all rows that will not be imported. The software will automatically mark header rows, footer rows, summation lines, and blank lines as invalid. For each row that is invalid, a check mark will be placed in the appropriate column indicating why the row was invalid.
Once you have verified the importable information, click Next. If you wish to Cancel the import process and try again, simply hit Cancel.
Click Finish to complete the Import Wizard.
Then, create your issue file.
Click the Create File button in the center of the homepage.
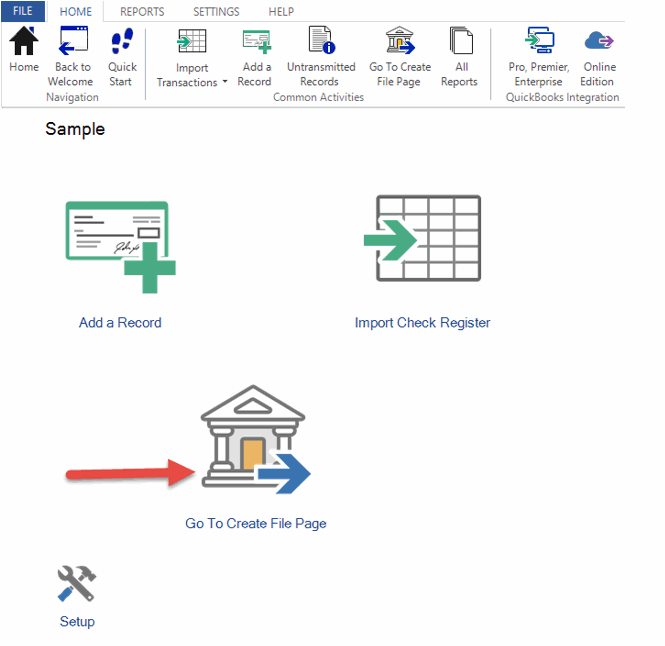
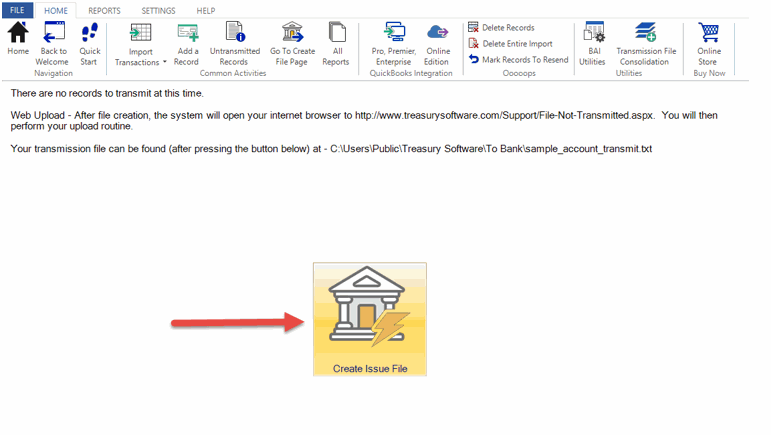
Then select Create Issue file.
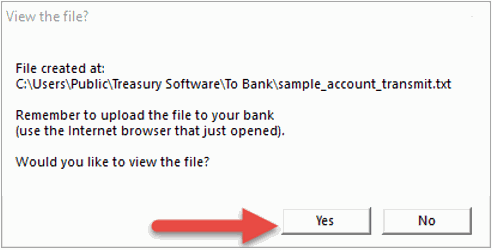
View your file by selecting Yes.
Remember to send your file to the bank according to their procedures.


